
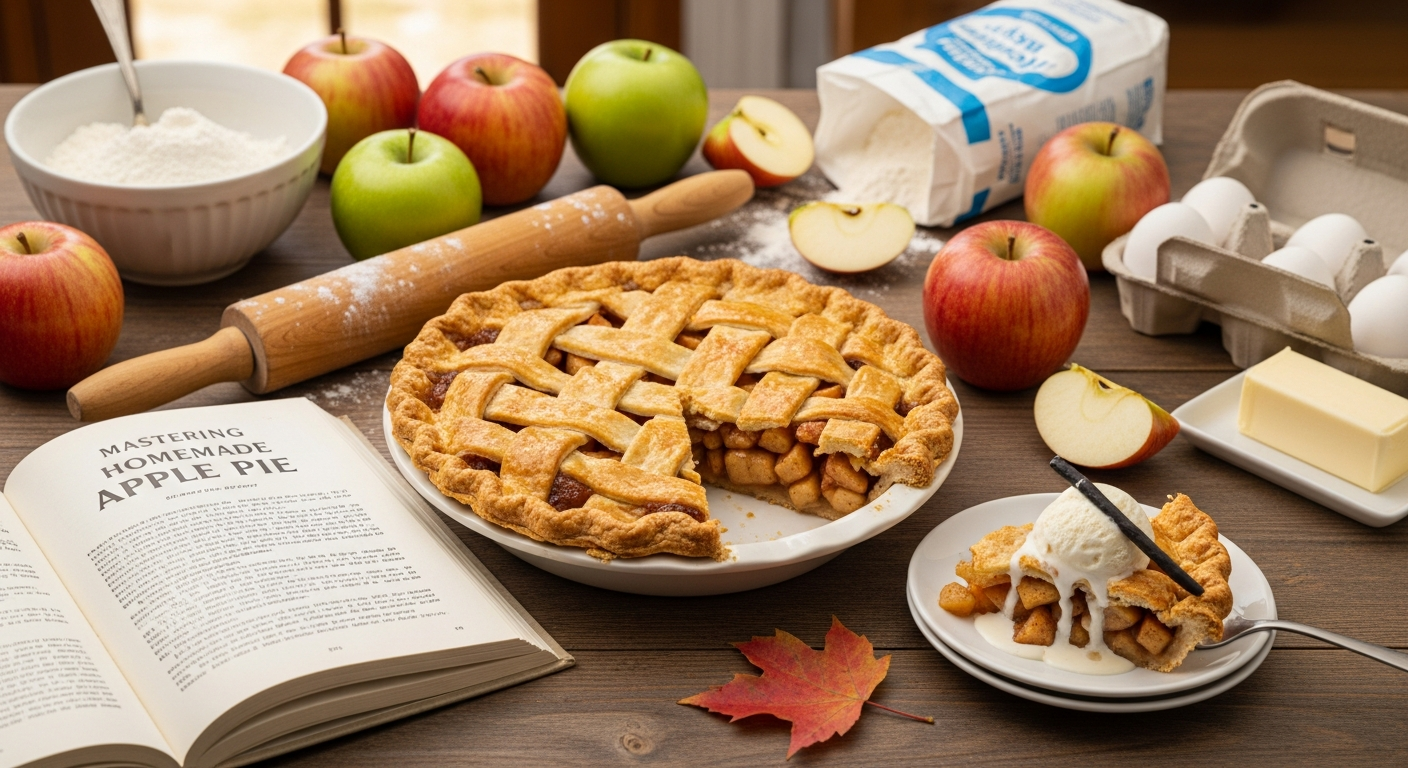
There’s something almost magical about the journey of an apple-from the sun-kissed branches of an orchard to the warm embrace of a freshly baked pie.”From Orchard to Oven: Mastering Homemade Apple Pie” invites you to explore this timeless culinary adventure, where nature’s simplest fruit transforms into a comforting masterpiece of flaky crust and fragrant spice. Whether you’re a seasoned baker or a curious novice, this article will guide you through selecting the perfect apples, balancing flavors, and crafting a pie that tastes like autumn itself. Prepare to fill your kitchen with the cozy aroma of tradition as we unlock the secrets behind the ultimate homemade apple pie.
From Orchard to Oven: Mastering Homemade Apple Pie begins with understanding the delicate harmony between flavor and texture that apples contribute to this iconic dessert. Selecting the right apples transforms a simple pie into a culinary masterpiece, layered with the perfect balance of tartness and sweetness, followed by a crust that shatters with buttery flakiness.
Prep and Cook Time
- Preparation: 30 minutes
- Cooking: 50 minutes
- Total time: 1 hour 20 minutes
Yield
Serves 8 classic slices of apple pie, perfect for gatherings or a cozy family treat.
Difficulty Level
medium – ideal for bakers ready to elevate their pie making with precise techniques.
Ingredients
- For the Crust:
- 2 ½ cups all-purpose flour, sifted
- 1 cup (2 sticks) unsalted butter, cold and cubed
- 1 tsp granulated sugar
- ½ tsp fine sea salt
- 6-8 tbsp ice-cold water
- For the Filling:
- 6-7 medium apples (see tips below)
- ¾ cup granulated sugar
- ¼ cup light brown sugar, packed
- 2 tbsp all-purpose flour
- 1 tsp ground cinnamon
- ¼ tsp ground nutmeg
- ½ tsp pure vanilla extract
- 1 tbsp fresh lemon juice
- 1 tbsp unsalted butter, cut into small pieces
- 1 egg, beaten with 1 tbsp water (for egg wash)
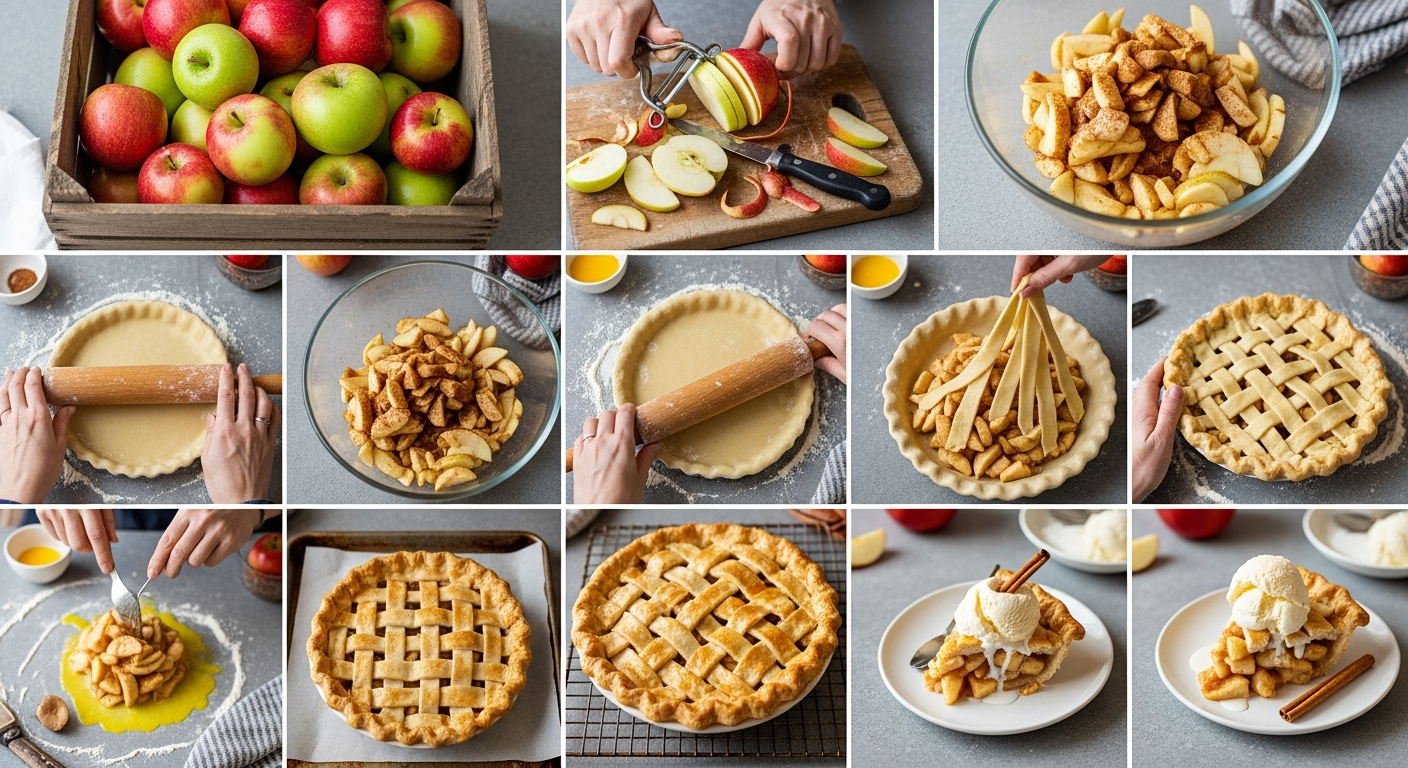
Instructions
- Choosing the apples: Start by peeling, coring, and slicing your apples uniformly about ¼-inch thick. For the perfect texture and flavor,combine firm tart apples like Granny Smith with sweeter,softer varieties such as Honeycrisp or Fuji. this blend will ensure a lively, well-rounded filling.
- Making the crust: In a large bowl, mix the flour, sugar, and sea salt. Using a pastry cutter or your fingertips,cut the cold butter into the dry ingredients until the mixture resembles coarse crumbs,with pea-sized pieces of butter remaining. Slowly add ice water, 1 tablespoon at a time, stirring gently until the dough just comes together. Be careful not to overwork it to keep the crust flaky.
- Chill and roll: Divide the dough, shape each portion into a disc, wrap in plastic, and chill for at least 1 hour. this cold rest strengthens the gluten and firms the butter for a tender, flaky crumb.
- Prepare the filling: Toss the sliced apples with granulated sugar, brown sugar, flour, cinnamon, nutmeg, vanilla, and lemon juice. The flour acts as a subtle thickener,while the acid in lemon juice prevents browning and balances sweetness.
- Assemble the pie: Roll out one dough disc on a lightly floured surface into a 12-inch circle. Carefully place it into a 9-inch pie plate, pressing gently. Spoon in the apple filling and dot with butter pieces for rich pockets of flavor.
- Roll the second disc to cover the filling. Choose to lattice or seal fully-pinching the edges to crimp decoratively. Cut a few vents for steam release.
- Brush the top crust evenly with the egg wash for a golden finish, then sprinkle lightly with sugar for sparkle.
- Bake: Place the pie on a rack in the center of a preheated oven at 425°F (220°C). bake for 20 minutes, then reduce heat to 350°F (175°C) and bake an additional 30 minutes or until the crust is golden and juices are bubbling. If edges brown too fast,cover them with foil.
- Cool and serve: Let the pie rest at room temperature for at least 2 hours to allow filling to set-this step enhances sliceability and flavor melding.
Chef’s Notes and Tips for Success
- Apple varieties: mixing apples achieves a nuanced filling-avoid overly soft types like McIntosh that may turn mushy.
- Dough handling: Keep dough cold and handle as little as possible to prevent tough crust.
- Prepare ahead: Pie dough and filling can be prepped a day in advance and refrigerated,making pie day smooth and stress-free.
- Prevent soggy bottom: Bake on a lower rack or use a preheated baking stone for better bottom crust crispness.
- Custom spices: For variation, consider a pinch of ground cloves or cardamom to transform the apple filling’s aroma.
Serving Suggestions
Warm slices shine when served with a scoop of homemade vanilla bean ice cream or a dollop of whipped cream. A sprinkling of finely chopped toasted pecans or a light dusting of cinnamon powder enhances the rustic charm. For a festive touch, garnish with fresh mint leaves or thin apple slices twisted into delicate rosettes for visual appeal.

| Nutrient | Per Serving |
|---|---|
| Calories | 380 kcal |
| Protein | 3 g |
| Carbohydrates | 56 g |
| Fat | 15 g |
For more decadent dessert recipes that elevate everyday ingredients, check out our guide Ultimate Peach Cobbler: Juicy, sweet & Simple. To understand the chemistry behind perfect pie crusts,visit King Arthur Baking Company’s Pie Crust Guide.
Q&A
Q&A: From Orchard to Oven – Mastering Homemade Apple Pie
Q1: Why start an apple pie journey at the orchard?
Answer: The secret to an unforgettable apple pie begins with the apples themselves. Picking apples straight from the orchard ensures freshness, optimal ripeness, and a variety packed with personality-be it tart Granny Smiths or sweet Honeycrisps.Freshly picked apples bring vibrant flavor and just the right balance of sweetness and acidity, making your pie a true celebration of the season.
Q2: Which apple varieties make the best pie filling?
Answer: Don’t settle for just one! A blend of apples-like tart Granny Smith, sweet Fuji, and aromatic Braeburn-creates a complex, layered flavor and ideal texture. Tart apples hold their shape, while sweeter ones caramelize beautifully, giving your pie that perfect harmony of tangy and sugary notes.
Q3: How critically important is the crust, and how can I master it?
Answer: The crust is the pie’s golden crown-flaky, buttery, and tender.To master it, keep your ingredients cold, handle the dough gently, and incorporate just enough water to bring it together. For that extra loving touch, add a splash of vinegar or a pinch of sugar to the dough.Don’t forget to chill your dough before rolling; patience here is your best ally.
Q4: What’s the secret to a perfectly spiced apple filling?
Answer: Cinnamon is classic, but a well-timed dash of nutmeg, allspice, or even a whisper of cardamom can elevate your filling from ordinary to extraordinary. Balance is key-too much spice can dominate, so start small and taste as you go. A hint of vanilla extract or a squeeze of lemon juice brightens the mixture beautifully.
Q5: How do I prevent a soggy bottom crust?
Answer: Ah, the dreaded soggy crust! To avoid it, precook your apple filling slightly to reduce excess juice, sprinkle the bottom crust with a thin layer of ground nuts or breadcrumbs to absorb moisture, and consider baking your pie on a preheated baking stone or heavy sheet pan to distribute heat evenly.
Q6: What’s the best baking technique for a golden, bubbly apple pie?
Answer: Bake your pie at a high temperature initially (around 425°F or 220°C) for 15 minutes to set the crust, then lower it to about 350°F (175°C) for the remainder of the bake to cook the filling gently. This dual temperature method gives you that tender, flaky crust and perfectly cooked apples. Keep an eye on the edges; a foil shield can prevent burning.
Q7: How long should I cool the pie before serving?
Answer: Patience, dear baker! Let the pie cool for at least two hours-this resting time allows the filling to thicken up and flavors to meld. it’s tough to wait, but slicing into a pie that’s still bubbling risks a juicy mess. Trust the process-it’s part of the magic.
Q8: Any creative twists to personalize my apple pie?
Answer: Absolutely! Add a crumble topping for extra texture,swirl caramel or maple syrup into the filling,or fold in chopped nuts like walnuts or pecans. For a fun surprise, try a lattice crust infused with a touch of sugar or cinnamon, or even a splash of bourbon in the filling for depth and warmth.
Q9: Can I make my apple pie ahead of time?
Answer: Yes! You can assemble your pie up to a day in advance and keep it chilled, then bake it fresh when ready. Alternatively, bake it fully and reheat before serving-cover it loosely with foil and warm in the oven to bring back that just-baked feeling. Both methods save valuable time while still delivering homemade goodness.
Q10: What’s the ultimate tip for baking apple pie perfection?
Answer: Listen to your pie.Watch, smell, and trust your instincts. Baking is as much art as science. Each oven, each batch of apples, even the weather, can influence your pie. Embrace the process, savor the sensory journey, and remember-the best apple pie is one made with love from orchard to oven.
Closing Remarks
as the warm aroma of cinnamon and baked apples fills your kitchen, you realize that mastering homemade apple pie is more than just following a recipe-it’s an artful journey from orchard to oven.Each slice tells a story of crisp, handpicked fruit, thoughtful preparation, and patient baking. By embracing the techniques and tips shared here, you’re not only crafting a tasty dessert but also preserving a timeless tradition that turns simple ingredients into moments of comfort and joy. So, next time the craving strikes, remember: the perfect apple pie is always within your grasp, waiting to bring a little slice of homemade magic to your table.