There’s something irresistibly enchanting about biting into a roast duck wiht skin so impeccably crispy it crackles beneath your fork, revealing tender, succulent meat that melts in your mouth. Yet, achieving that flawless golden crust can feel like an elusive culinary quest-one that tests patience, technique, and a few well-guarded secrets. In this article, we’ll unveil teh art and science behind mastering crispy roasted duck, guiding you step-by-step with expert tips that ensure your skin comes out perfectly crisp every single time. whether you’re a seasoned cook looking to refine your skills or a curious foodie eager to impress, prepare to transform your kitchen into a haven of rich aromas and irresistible textures.Let’s dive in and unlock the secrets to roasting duck like a pro.
Mastering Crispy Roasted Duck: Tips for Perfect Skin every Time
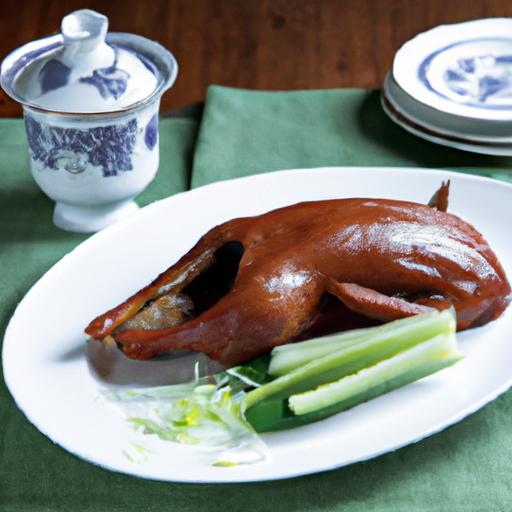
Mastering crispy roasted duck is a culinary art that transforms a humble bird into a stunning centerpiece with golden,crackling skin and tender,succulent meat beneath. This recipe brings together time-honored techniques with modern insights into the science behind perfectly crisp duck skin, promising a show-stopping dish that delights both the eyes and palate.
Prep and Cook Time
Preparation Time: 30 minutes
Roasting Time: 1 hour 20 minutes
Total Time: 1 hour 50 minutes
Yield
Serves 4 elegantly.
Difficulty Level
Medium - perfect for home cooks looking to elevate their roast game.
Ingredients
- 1 whole duck (about 5 lbs), preferably Pekin or Muscovy, thoroughly cleaned and patted dry
- 1 tbsp kosher salt (for dry brining)
- 1 tsp freshly ground black pepper
- 2 tsp Chinese five-spice powder
- 3 sprigs fresh thyme
- 2 cloves garlic, smashed
- 1 orange, quartered (optional, for stuffing)
- 2 tbsp honey (for glazing)
- 1 tbsp soy sauce (for glazing)
- 1 cup low-sodium chicken broth (for basting)
Instructions
- Start by drying the duck thoroughly. Remove any excess fat from the cavity and prick the skin all over with a sharp skewer or fork, taking care not to pierce the meat - this allows fat to render out evenly, a key to mastering crispy roasted duck.
- Dry brine the duck. Rub the entire skin with kosher salt mixed with black pepper and five-spice powder. Place the duck on a wire rack set over a tray and refrigerate uncovered for at least 8 hours, preferably overnight.This simple step dries out the skin for maximum crispiness.
- Let the duck come to room temperature. About 30 minutes before roasting, take the duck out of the fridge. Stuff the cavity with orange quarters, thyme, and garlic for aromatic flavor infusion.
- preheat the oven to 375°F (190°C). Position a rack in a roasting pan to allow fat to drip away from the bird.
- Roast the duck, breast side up. Start by placing the duck breast side up and roast for 45 minutes. Baste every 15 minutes with the rendered fat, saving excess for making sauces or roasting potatoes.
- Flip the duck over carefully. Turn it breast side down for the next 20 minutes to ensure the skin crisps uniformly over the entire bird.
- Glaze and finish roasting. Turn the duck breast side up again, brush with a mixture of honey and soy sauce for a glossy, caramelized finish. Roast for an additional 15 minutes.
- Check for doneness. The internal temperature should reach 165°F (74°C) in the thickest part of the thigh. Rest the duck uncovered for 15 minutes before carving to let juices redistribute and skin remain crisp.
Chef’s Notes: Tips for Success
- Pricking the skin: Focus on the fattier parts like thighs and breast without piercing the meat to avoid dry patches.
- Dry brine importance: Don’t skip refrigerating uncovered – moisture is a natural enemy of crisp skin.
- Fat render: Save the fat for roasting veggies like potatoes or veggies for an added flavor boost.
- Make-ahead: Dry brine duck 24 hours in advance for deeper flavor and even better skin texture.
- Substitution: Use maple syrup rather of honey for a diffrent glaze profile with a hint of smokiness.
- Common pitfall: Avoid covering the duck before it cools to preserve skin crispness.
Serving Suggestions
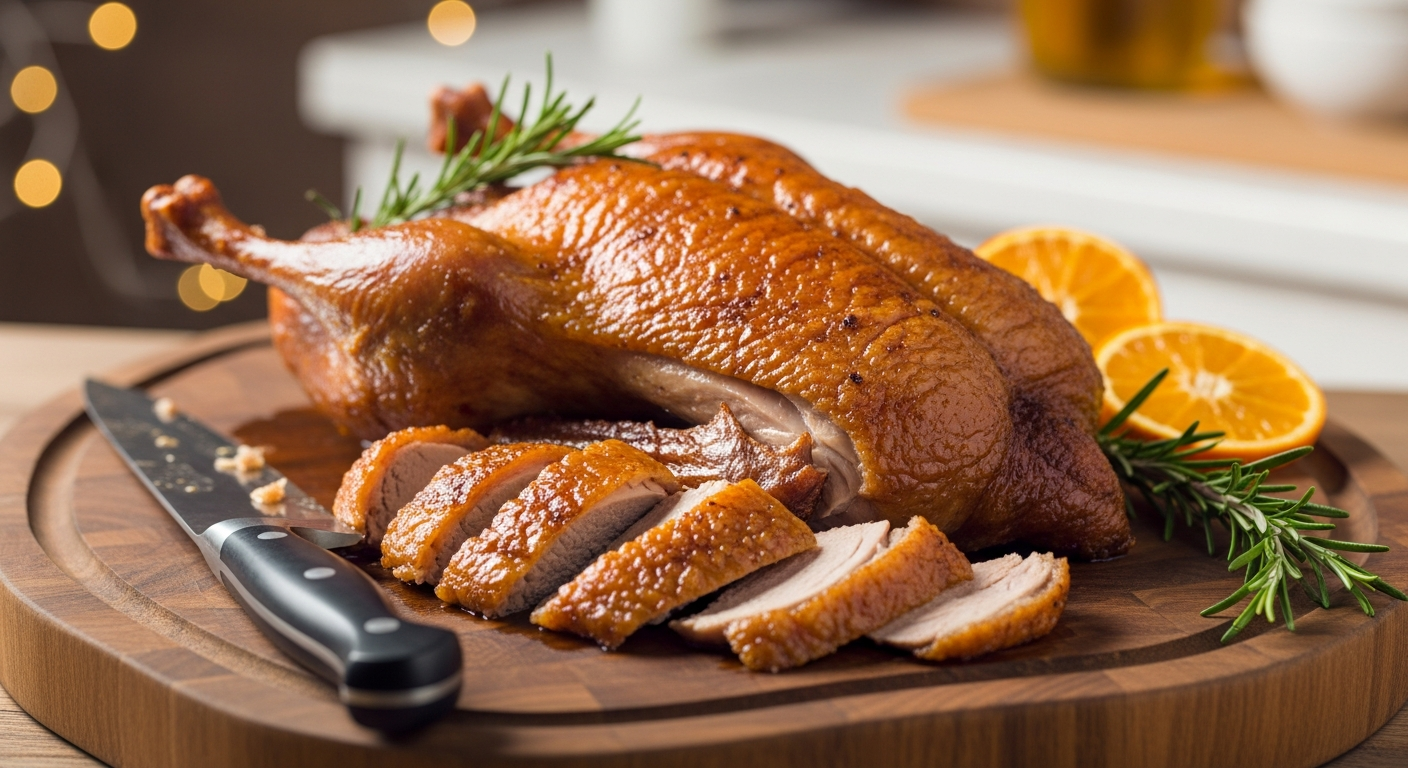
carve the duck into portions, showcasing the radiant golden skin and juicy meat. Serve atop a bed of wilted bok choy or roasted root vegetables. Garnish with fresh orange zest and a scattering of toasted sesame seeds for a harmonious blend of color and texture. A drizzle of reduced duck jus or plum sauce served on the side heightens the dish’s complexity. For an elegant touch, add microgreens or edible flowers for color contrast.
| Nutrient | Per Serving |
|---|---|
| Calories | 580 |
| protein | 45g |
| Carbohydrates | 8g |
| fat | 40g |
For a deeper dive,explore our related guide on how to master roast chicken – the techniques complement beautifully with this duck roast. For scientifically detailed insights on fat rendering and moisture control,visit the Serious eats article on crispy duck skin.

Q&A
Q&A: Mastering Crispy Roasted Duck – Tips for Perfect Skin Every Time
Q1: Why is crispy skin so critically important when roasting duck?
A1: Crispy skin is the hallmark of a perfectly roasted duck-it’s what elevates this rich, flavorful meat from good to unforgettable. That delightful crunch contrasts beautifully with the tender, juicy flesh beneath, creating a multi-textured experience that makes every bite a pleasure.
Q2: What’s the frist step to achieving crispy duck skin?
A2: Patience and preparation! Start by thoroughly drying the skin with paper towels. Moisture is the enemy of crispiness-wet skin steams rather than crisps. Some chefs even recommend leaving the duck uncovered in the refrigerator for several hours or overnight to air-dry the skin.
Q3: Should I score the skin before roasting?
A3: Yes! Scoring the skin in a crisscross pattern helps render out the fat more efficiently. Be careful not to cut too deeply into the meat-just enough to pierce the fat layer. This allows the fat to escape and the skin to crisp beautifully without becoming greasy.
Q4: How important is rendering the fat in the cooking process?
A4: Crucial. Duck is famously fatty, and that fat must melt away slowly to leave behind crisp skin. Starting the roast at a moderate temperature lets the fat render out gently. Some cooks even start with a low temperature, then finish with high heat to sharpen the crunch.
Q5: Any insider seasoning tips?
A5: Keep it simple yet effective. Salt is key-it draws moisture out and enhances skin crispness. For extra flavor, rub the skin with a little five-spice powder, black pepper, or even a brush of honey or soy glaze towards the end to add caramelized notes without compromising crispiness.
Q6: Is it better to roast the duck whole or in parts?
A6: Both methods work, but roasting whole duck preserves moisture. Though, roasting parts like breasts separately lets you control cooking times for perfect skin and medium-rare meat. Whichever you choose, ensure even heat circulation to allow fat to render properly.
Q7: Can I use a convection oven to help with crispy skin?
A7: Absolutely! A convection oven’s circulating hot air is excellent for crisping skin evenly. Just watch your cooking time closely since convection ovens tend to cook faster, and avoid any foil covering that traps steam.
Q8: How do I know the duck skin is perfectly crispy when it comes out of the oven?
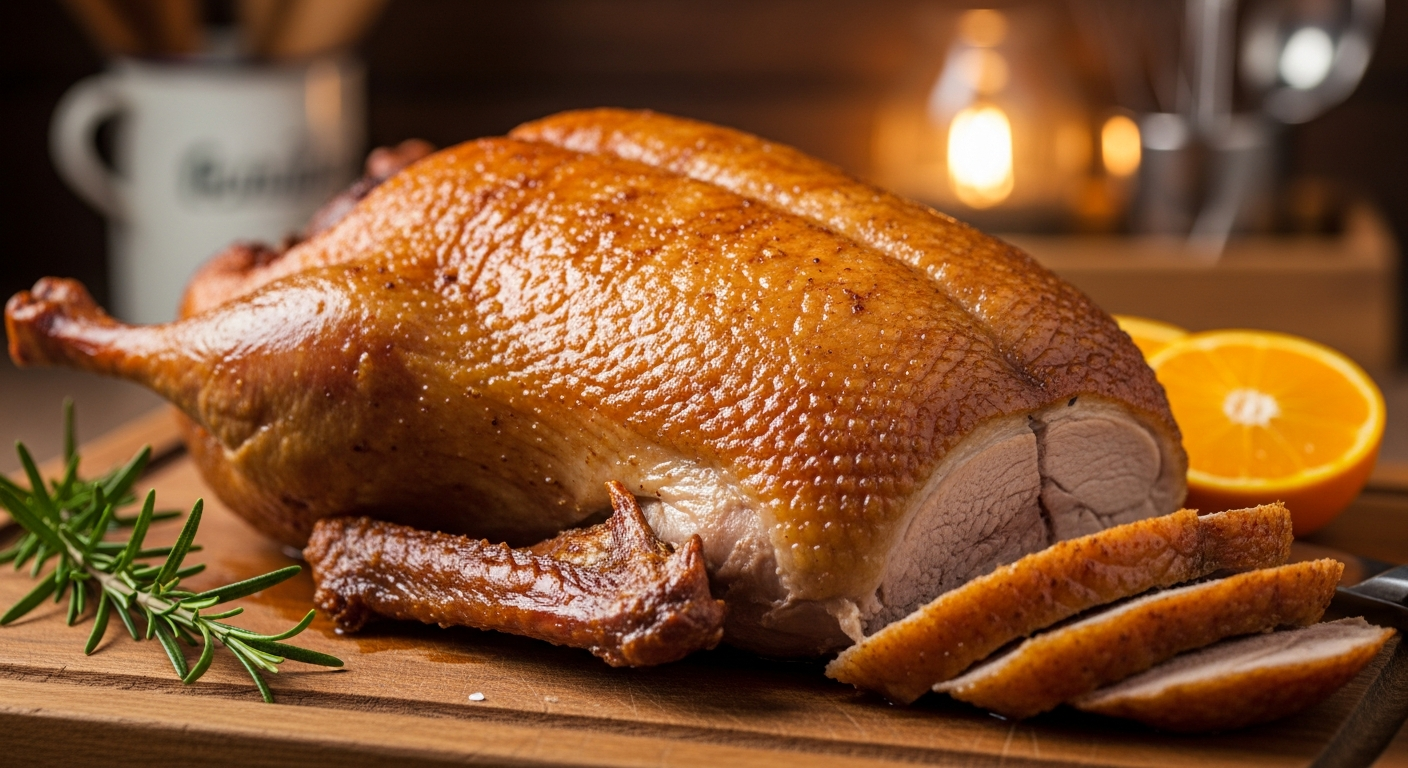
A8: visually, the skin should be a deep golden brown, glistening with rendered fat. When tapped, it should make a firm, crackly sound-not limp or rubbery. Remember to let the duck rest for a few minutes, as this lets the juices redistribute without softening the skin.Q9: are there common mistakes to avoid for perfect crispy skin?
A9: Yes! Avoid skipping the drying step; avoid over-oiling the skin; and don’t rush the rendering process by cranking the oven too high from the start-they all sabotage crispiness. Also, cutting into the skin right after roasting lets juices escape, making it soggy.
Q10: Any final pro tips for mastering crispy roasted duck?
A10: Treat your duck like a culinary treasure-respect its fat, embrace the slow render, and have fun experimenting with seasoning. Remember, every oven is different, so take notes on what works best for you. The reward? A gloriously crispy skin that’s the crowning glory of every roast.
Feel empowered to roast that duck like a pro-crispy, crackly perfection awaits!
In Retrospect
With these expert tips in hand, your journey to mastering crispy roasted duck is well within reach. Remember, the secret lies not just in the seasoning or the roasting time, but in the patience and precision that transforms tender meat into a symphony of flavors beneath a golden, crackling skin. As you perfect each step, your kitchen will fill with irresistible aromas and your table will boast a dish worthy of celebration. So, embrace the art of crispiness-your perfect roasted duck awaits, ready to impress and delight every single time.