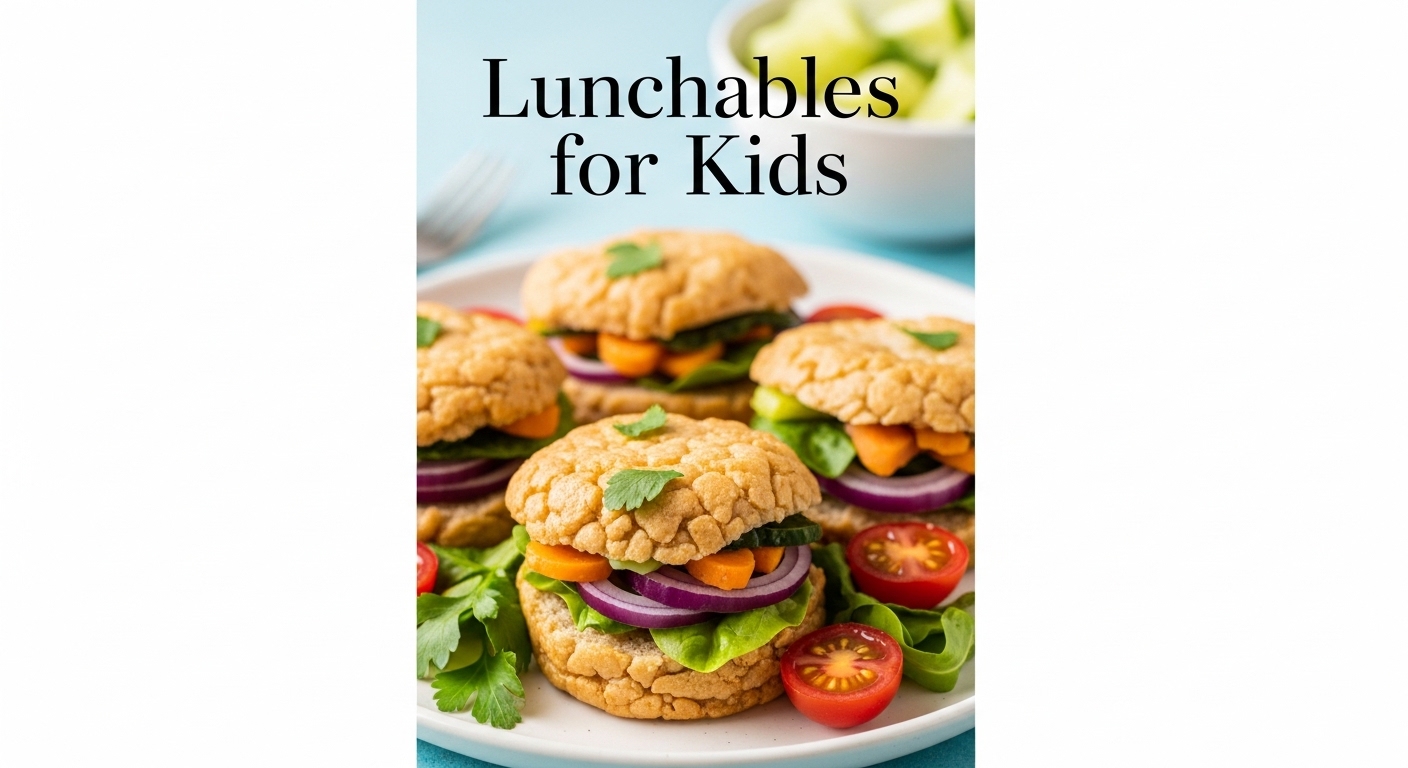
Lunchboxes don’t have to be boring-or full of processed snacks! Enter the world of DIY Lunchables: a fun, creative, and healthy twist on the classic store-bought favorite. By assembling customizable mini meals at home, parents can ensure their kids enjoy balanced nutrition while sparking their imaginations during lunchtime. easy to prepare and tailor-made to suit any picky eater’s taste buds, these homemade Lunchables turn mealtime into a delightful adventure. Let’s dive into how you can craft these colorful, wholesome, and irresistibly tasty bites that kids will love-and parents will feel great about!
DIY Lunchables for kids are more than just a fun midday meal-they’re a nourishing, customizable way to involve children in their own nutrition while brightening up lunchtime with creative flair. Bringing vibrant colors, wholesome ingredients, and personalized touches into these balanced DIY lunchables for kids fosters healthy habits and makes mealtime something your little ones look forward to every day.
Prep and Cook Time
Total Time: 15-20 minutes (mostly assembly, no cooking required)
Yield
Serves: 2-3 children (adjustable depending on portion size)
Difficulty Level
Easy – perfect for busy parents and budding young chefs alike
Ingredients
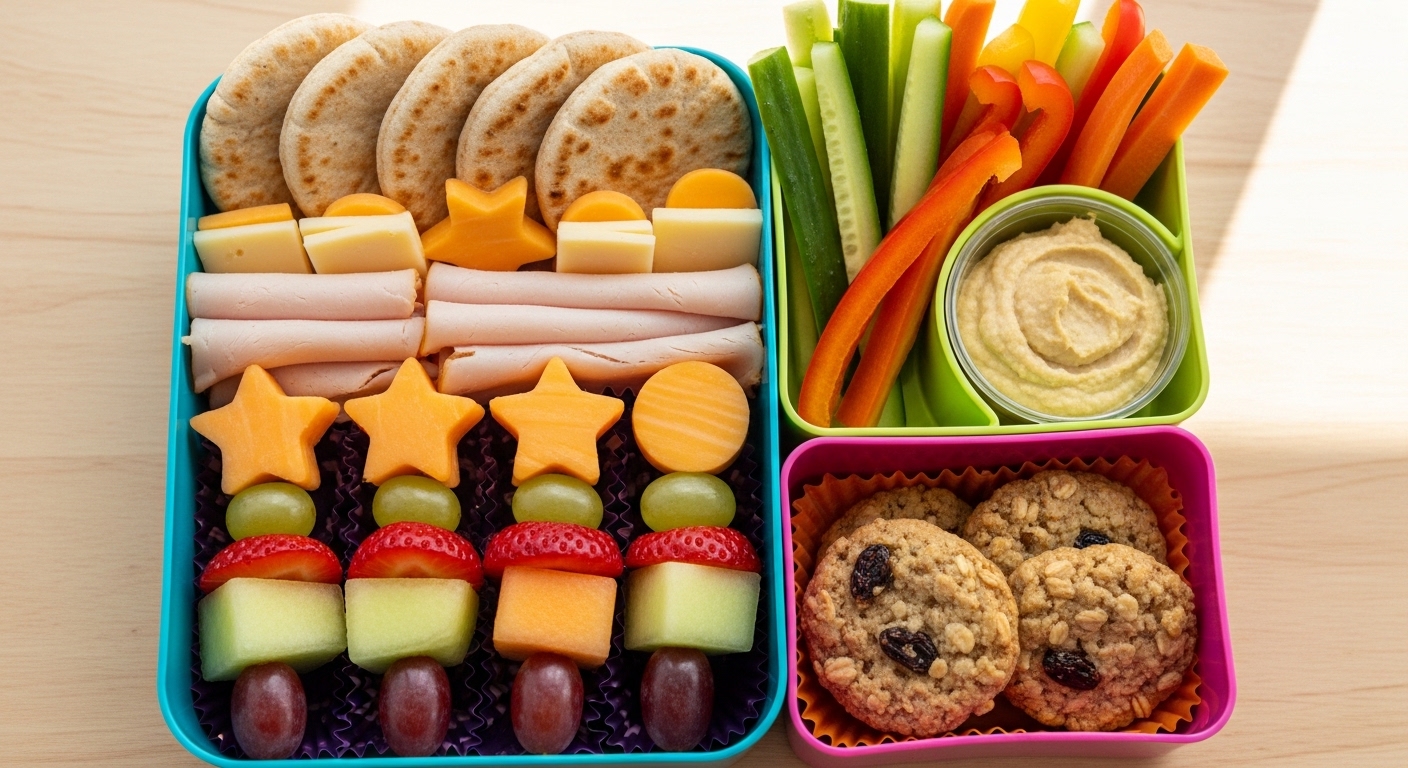
- Whole grain crackers – 1 cup (approx. 12-15 crackers)
- Lean turkey or chicken slices – 4 oz, thinly sliced
- Cheese – 4 oz, cut into small cubes or shapes (use cheddar, mozzarella, or mild gouda)
- Bright veggie sticks – 1 cup (carrot, cucumber, bell peppers, cut into fun shapes)
- Fresh fruit – 1 cup (grapes, berries, or sliced apple with a splash of lemon to prevent browning)
- hummus or Greek yogurt dip – ¼ cup, for healthy fat and flavor
- Mixed nuts or seeds – 2 tbsp, finely chopped (optional, adjust for allergies)
- Whole wheat pita pockets – 2 small pieces, cut into triangles (optional option to crackers)
Instructions
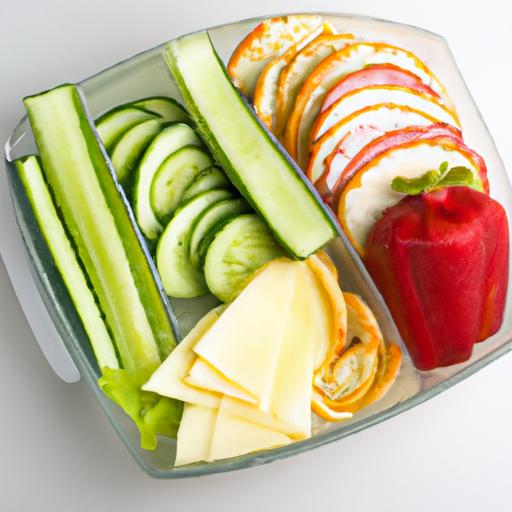
- Prepare all fresh ingredients by washing and slicing the veggies and fruits into bite-size or fun shapes (using cookie cutters adds a playful twist kids love).
- Cut cheese into small cubes or creative shapes to encourage curiosity and engagement.
- Assemble protein slices by folding turkey or chicken neatly or rolling them with a slice of cheese inside for bite-sized pinwheels.
- Arrange everything in separate compartments of a reusable container or bento box – keep wet ingredients (like dips) in small leakproof containers to maintain crispness.
- Sprinkle nuts or seeds lightly atop fruit or veggies for added crunch and nutrition (skip if allergies are a concern).
- Seal your lunchable container securely and refrigerate until ready to go, making sure to pack an ice pack to keep items fresh and safe.
Tips for success
- Swap out ingredients to suit your child’s preferences: replace turkey with lean ham, cheese with dairy-free slices, or veggies with any colorful produce available.
- Use cookie cutters to turn cheese, fruits, and sandwiches into stars, hearts, or animals for visual appeal.
- Make dips ahead (like hummus or yogurt-based dressings) and store in individual containers to encourage independent dipping and limit mess.
- Keep ingredients separate until lunchtime to preserve texture – soggy crackers or wilted veggies can make mealtime less enjoyable.
- Customize for allergies and sensitivities-opt for nut-free alternatives and gluten-free crackers or pita pockets.
Serving Suggestions
Present your balanced DIY lunchables for kids with a splash of color and fun by layering crackers, fruit, and veggies in rainbow order or mapping out a smiley face with the ingredients.Garnish with a small sprig of fresh mint or basil for aroma and visual pop. For extra excitement, include a tiny handwritten note or sticker from you to brighten your child’s day.
| Nutrient | Per Serving |
|---|---|
| Calories | 320 kcal |
| Protein | 20 g |
| Carbohydrates | 28 g |
| Fat | 12 g |
Engage your children in building their own DIY Lunchables for kids to transform typical lunch into a joyful, nutritious adventure. For more wholesome lunch ideas, check out our Healthy Kid-Friendly Lunch Recipes. To explore detailed nutritional guidance, visit the USDA’s Protein Foods Recommendations.

Q&A
Q&A: DIY Lunchables for Kids – fun, Healthy, and Easy to Make!
Q1: What exactly are DIY Lunchables?
A: DIY Lunchables are homemade, customizable lunch kits that mimic the classic Lunchables but with healthier ingredients and a personal touch. Think of them as a fun, DIY lunch box where your kids get to mix and match their favorite snacks, proteins, veggies, and cheeses-all prepared at home with fresh, wholesome foods.
Q2: Why should I consider making DIY Lunchables rather of buying pre-packaged ones?
A: Pre-packaged Lunchables frequently enough come loaded with preservatives, added sugars, and artificial flavors. By making your own, you control every ingredient-ensuring the meal is nutritious, free from unwanted additives, and tailored to your child’s taste and dietary needs.Plus, it’s a great opportunity to teach kids about healthy eating and portion control.
Q3: How can DIY Lunchables be both fun and educational for kids?
A: Kids love choosing and assembling their own meals-it sparks creativity and gives them a sense of independence. Involving them in selecting ingredients and preparing their lunch can be an engaging way to teach them about nutrition,food groups,and the importance of balanced meals,all while having fun!
Q4: What are some easy,healthy ingredients to include in a DIY Lunchable?
A: Start with whole-grain crackers or mini pita breads as your base. Add lean proteins like sliced turkey, grilled chicken, or hummus. include a variety of colorful veggies-think cherry tomatoes, cucumber slices, bell pepper strips-and add cheese cubes or string cheese for calcium. Don’t forget a small fruit portion like grapes,apple slices,or berries for a sweet finish!
Q5: How can I keep these DIY Lunchables fresh and safe for my child?
A: Use airtight containers or compartmentalized lunch boxes with tight lids to keep everything fresh. Include an ice pack to maintain a safe temperature, especially for dairy and meats.Preparing the lunch the night before and refrigerating it until morning will also help keep ingredients crisp and tasty.
Q6: What if my child has food allergies or dietary restrictions? can DIY Lunchables be adapted?
A: absolutely! DIY Lunchables are perfect for accommodating allergies and special diets. swap out common allergens for safe alternatives-use gluten-free crackers,dairy-free cheese,or plant-based proteins for vegan options. The customizable nature ensures that every child can have a appetizing, safe lunch tailored just for them.
Q7: do DIY Lunchables require a lot of time to prepare?
A: Not at all! Once you have a few staple ingredients prepped-like sliced meats, cut veggies, and portioned crackers-assembly takes just minutes. You can even create a “DIY Lunchable station” on weekends where your child helps prep portions for the week, making weekday lunches a breeze.
Q8: Any tips for making DIY Lunchables more exciting and appealing to picky eaters?
A: Presentation is key! Use fun containers with compartments, colorful ingredients, and bite-sized pieces. Let your child pick a “theme” like Italian (mini meatballs, cheese, pepperoni, crackers) or Picnic (sliced chicken, hummus, baby carrots, fruit). including a small treat-like a homemade granola bar or dark chocolate square-can also be a rewarding incentive.
With DIY Lunchables, lunchtime becomes a playful, nutritious adventure your kids will look forward to every day!
Insights and Conclusions
Creating your own DIY Lunchables is more than just a fun activity-it’s an empowering way to put nutritious, personalized meals into your child’s hands. With endless combinations of wholesome ingredients, you can steer away from processed options and rather fuel your little ones with flavors they’ll love and nutrients they need.So next time lunchtime rolls around, channel your creativity, gather some colorful snacks, and watch as your kids dive into their homemade lunch adventure. Healthy eating has never been this easy-or this much fun!