There’s something irresistibly magical about homemade pizza-the golden crust, the bubbly cheese, the aroma that fills the kitchen just before that first perfect bite. But it all begins with one essential element: the dough.Mastering the art of homemade pizza dough is not just a culinary skill; it’s a gateway to endless creativity and unforgettable flavors. Whether you’re a seasoned cook or a curious beginner,this guide will walk you through simple,foolproof steps to create flavorful dough from scratch. Get ready to roll up your sleeves and transform basic ingredients into a pizza base that’s crispy, chewy, and uniquely yours!
Choosing the Perfect Flour for the Ultimate Dough Texture
Master the Art of Homemade Pizza Dough: Simple & delicious! begins with an essential ingredient that defines the perfect crust – flour. Selecting the ideal flour sets the foundation for dough with just the right balance of chewiness, crispness, and elasticity. While all-purpose flour is widely accessible and yields delicious results, opting for a high-protein bread flour dramatically improves gluten development, creating that signature airy yet sturdy structure we crave in pizza crust.
for an authentic Italian-style pizza,”00″ flour is a game-changer. it’s finely milled and boasts moderate protein, allowing your dough to stretch effortlessly with a pillowy softness after baking. When experimenting, don’t hesitate to blend flours to suit your preference – mixing all-purpose with bread flour creates a wonderful middle ground for home cooks.

Unlocking the Secret to Ideal Dough Hydration and Kneading Techniques
Water isn’t just a liquid; it’s the magic wand in pizza dough-making. Striking the perfect hydration level – typically between 60-65% of the flour’s weight – ensures your dough is supple without being sticky. This hydration supports gluten strands to form a flexible network that traps air bubbles during fermentation.
When you begin kneading,use a gentle yet intentional technique. Folding and stretching the dough on a lightly floured surface encourages strong gluten strands without over-working, which can yield a tough crust. the dough should feel smooth, elastic, and slightly tacky to the touch.
Pro tip: During kneading, pause to fold the dough every 5 minutes, allowing the gluten to relax and develop gradually. This subtle approach unlocks a silky dough texture that’s easier to handle and rolls out beautifully.
Mastering Fermentation for Flavorful and Airy Crusts
Fermentation is where the dough truly comes alive. Patience here pays off in flavor complexity and a gorgeously airy crumb. After kneading, let your dough rest and rise in a warm, draft-free space. A slow, cold fermentation in the refrigerator – at least 24 hours and up to 72 hours – is ideal for deepening flavor nuances and creating those coveted bubbles that bloom into a light crust.
Keep your dough covered with a damp kitchen towel or plastic wrap to retain moisture. When it’s ready, the dough will have visibly risen and feel soft yet springy. This method not onyl enhances taste but also improves digestibility.
For a rapid rise, ensure your yeast is fresh and active. Adding a pinch of sugar can help jump-start fermentation if you’re short on time, but try to embrace slow fermentation for truly artisanal results.
Tips and Tricks for Rolling Out Dough Like a Pro
Rolling out pizza dough is an art that balances gentle handling and precision. Start by dusting your work surface and rolling pin lightly with flour to prevent sticking but avoid over-flouring, which dries out the dough. Press the dough ball gently with your fingertips before rolling to release any large air bubbles.
Rather of pressing too hard, use long, even strokes rolling from the center outward, rotating the dough a quarter turn to maintain a uniform shape. If the dough resists stretching, let it rest for 5-10 minutes-this relaxes gluten and prevents tearing.
For a rustic look, skip the rolling pin and stretch the dough using your hands – carefully stretching and rotating the dough in mid-air or on your knuckles creates irregular edges and an artisanal feel.Remember: a dough that’s warm from resting will be easier to shape.
Prep and cook Time
- Planning: 20 minutes (plus 24-72 hours fermentation)
- Cook Time: 10-15 minutes (baking at 475°F / 245°C)
yield
Serves 4 pizza bases (10-12 inches each)
Difficulty Level
medium – approachable for home cooks ready to master dough techniques
Ingredients
- 3 ½ cups (420g) bread flour, sifted for best texture
- 1 ¼ cups (300ml) lukewarm water (about 65°F/18°C)
- 2 tsp fine sea salt
- 2 tsp active dry yeast
- 1 tbsp olive oil, plus extra for coating
- 1 tsp sugar (optional, to activate yeast faster)
Instructions
- Activate the yeast: In a small bowl, combine lukewarm water, sugar, and yeast. stir gently and let sit for 10 minutes until frothy.
- Mix the dry ingredients: In a large bowl, whisk together bread flour and salt. Create a well in the center.
- Combine: Pour the yeast mixture and olive oil into the well. Using a wooden spoon or your hands, gradually incorporate the flour until a shaggy dough forms.
- Knead: Transfer dough to a lightly floured surface. Knead gently for 8-10 minutes, folding and stretching until smooth and elastic. The dough should be tacky but not sticky.
- First rise: Lightly oil a large bowl. Place the dough ball inside, turning to coat all sides with oil. Cover tightly with plastic wrap or damp cloth. Let it ferment at room temperature for 2 hours, then refrigerate for 24 to 72 hours for flavor development.
- Bring to room temp: Remove dough from refrigerator 1 hour before shaping. This makes it easier to stretch.
- Shape the dough: Divide into 4 equal portions.Gently flatten with fingertips, then roll or stretch to desired thickness and size.
- Add toppings and bake: Preheat oven to 475°F (245°C) with a pizza stone if available. Top your pizza and bake for 10-15 minutes until edges are golden and crust is crisp.
Tips for Success
- Use a kitchen scale for precise flour and water measurements to maintain consistent hydration.
- Keep yeast fresh-expired yeast can prevent proper rising.
- If dough sticks excessively while rolling, dust sparingly with flour or use semolina flour for texture and grip.
- Slow fermentation enhances flavor and digestibility; avoid rushing the rise when possible.
- For a crispier crust,bake pizza on a preheated pizza stone or steel for direct heat exposure.
Serving Suggestions
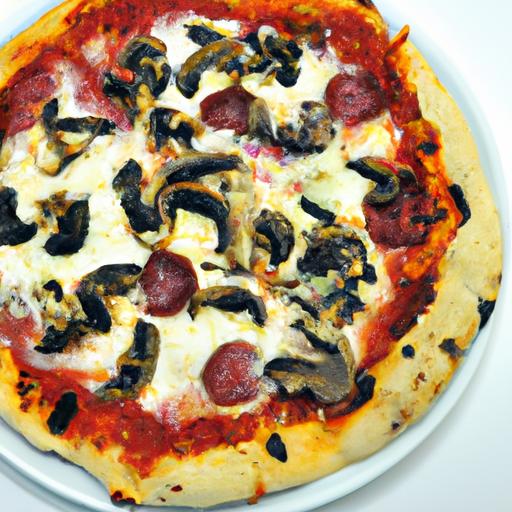
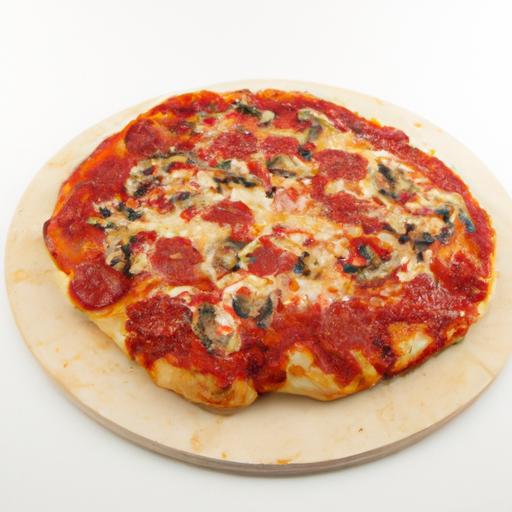
Serve your homemade pizza hot from the oven with a drizzle of extra virgin olive oil and fresh basil leaves for a burst of aroma. A sprinkle of flaky sea salt enhances the crust’s flavor. Pair with a side salad of fresh arugula dressed lightly with lemon and Parmesan shavings or a glass of chilled Italian white wine for a complete meal.
Nutritional Information
| Nutrient | Per Serving (1 pizza base) |
|---|---|
| Calories | 320 kcal |
| Protein | 9 g |
| Carbohydrates | 62 g |
| Fat | 3 g |
Related Reading
Discover more tips on perfecting your pizza technique in our Ultimate Pizza sauce Recipe. For scientific insights into dough fermentation, visit King Arthur Baking’s Guide to Yeast and Gluten.
Q&A
Q&A: Master the Art of Homemade Pizza Dough: Simple & delicious!
Q1: Why should I make pizza dough from scratch rather of buying pre-made?
A: Making pizza dough from scratch is like crafting a canvas for your culinary masterpiece. It lets you control every ingredient, tailor the texture to your liking, and experience the joy of transforming simple pantry staples into something truly magical. Plus, fresh dough bakes up with that perfect chewy-crisp balance that store-bought versions frequently enough can’t match.
Q2: What are the essential ingredients for a basic homemade pizza dough?
A: Just four humble heroes! flour (usually all-purpose or bread flour), water, yeast, and salt. Some bakers like to add a touch of olive oil or a pinch of sugar to enrich the dough. Each ingredient plays a starring role: flour builds structure, yeast brings the bubbles, water hydrates, and salt adds flavor.
Q3: How important is kneading, and can I skip it?
A: Kneading is the secret handshake that awakens the gluten strands, giving your dough that stretchy, elastic texture. Skipping kneading might lead to a dense or crumbly crust. However, if time is tight, a no-knead recipe that relies on long fermentation can still yield surprisingly tasty results!
Q4: What’s the ideal rise time for pizza dough?
A: Patience is a pizza maker’s best freind. Typically, a rise of about 1 to 2 hours at room temperature lets the yeast do its bubbly magic. For deeper flavor and better texture,a slow rise in the fridge overnight (8-24 hours) is even better. It develops subtle notes and makes the dough easier to handle.
Q5: Can I use gluten-free flour to make pizza dough?
A: Absolutely! Gluten-free doughs require a different approach, frequently enough blending various flours like rice, tapioca, and almond to mimic gluten’s elasticity. They might also call for binders like xanthan gum. With the right recipe, you can enjoy a delicious gluten-free pie without compromising on taste or texture.
Q6: How do I know when my dough is ready to be baked?
A: Look for dough that’s doubled in size,softly springy to the touch,and slightly jiggly. When you press your finger gently,the indentation should slowly bounce back. This means the gluten is well-developed and the yeast has created enough air pockets-perfect for that airy crust.
Q7: Any tips for rolling out dough without it sticking or tearing?
A: Flour your surface and rolling pin lightly, but not excessively-too much flour can make your dough tough. Let the dough rest if it resists stretching; it may need a few minutes to relax gluten. Alternatively, gently stretch by hand for a more rustic, bubbly crust that’s all the rage in pizzerias.
Q8: How can I store leftover dough for future use?
A: Wrap your dough tightly in plastic wrap or place it in an airtight container. It can chill in the fridge for up to 3 days or freeze for up to 3 months. When ready to use, thaw overnight in the fridge and let it come to room temperature before shaping.
Q9: What’s the secret to achieving a crispy yet chewy crust?
A: It’s all about balance: proper hydration (usually 60-65% water to flour ratio), adequate kneading, and baking on a hot surface-like a pizza stone or steel-preheated to at least 475°F (245°C). High heat rapidly crisps the bottom while keeping the inside tender.
Q10: Can I customize the dough to make it healthier or more flavorful?
A: Definitely! Swap all-purpose flour for whole wheat or spelt to add fiber and nuttiness. Incorporate herbs like rosemary or garlic powder into the dough for an aromatic twist. Just remember, changes in flour type or additions might affect how the dough rises and handles, so experiment and adjust hydration as needed.
–
Embark on your pizza-making journey with confidence and creativity-mastering homemade dough is the first step toward savoring pizzeria-quality pies right from your own oven!
Future Outlook
With your newfound skills in crafting the perfect homemade pizza dough, you’re no longer just a pizza lover-you’re a pizza artisan. Each batch you create carries the promise of crispy edges, pillowy centers, and rich, golden hues baked right in your own kitchen. Remember, the beauty of homemade dough lies not just in the recipe, but in the joy of experimentation and the satisfaction of sharing your delicious creations. So, roll up your sleeves, trust the process, and let every pizza night be a celebration of flavor, creativity, and the timeless art of dough-making. Your perfect pie awaits!